Installation
bino is a command-line tool for building pixel-perfect PDF reports from YAML and SQL. This page shows how to install the binary on common platforms and confirm that everything works.
Supported platforms
Section titled “Supported platforms”bino provides pre-built binaries for:
- macOS (Intel, Apple Silicon)
- Linux x86_64
- Windows x86_64
Install using the bundled installer script (recommended)
Section titled “Install using the bundled installer script (recommended)”Installer scripts are published with each release. They automatically detect your OS/architecture, download the appropriate archive, verify the SHA-256 checksum (if present), and install the bino binary.
Linux and macOS
Section titled “Linux and macOS”Run directly (one-liner that executes the installer):
/bin/bash -c "$(curl -fsSL https://github.com/bino-bi/bino-cli-releases/releases/latest/download/install.sh)"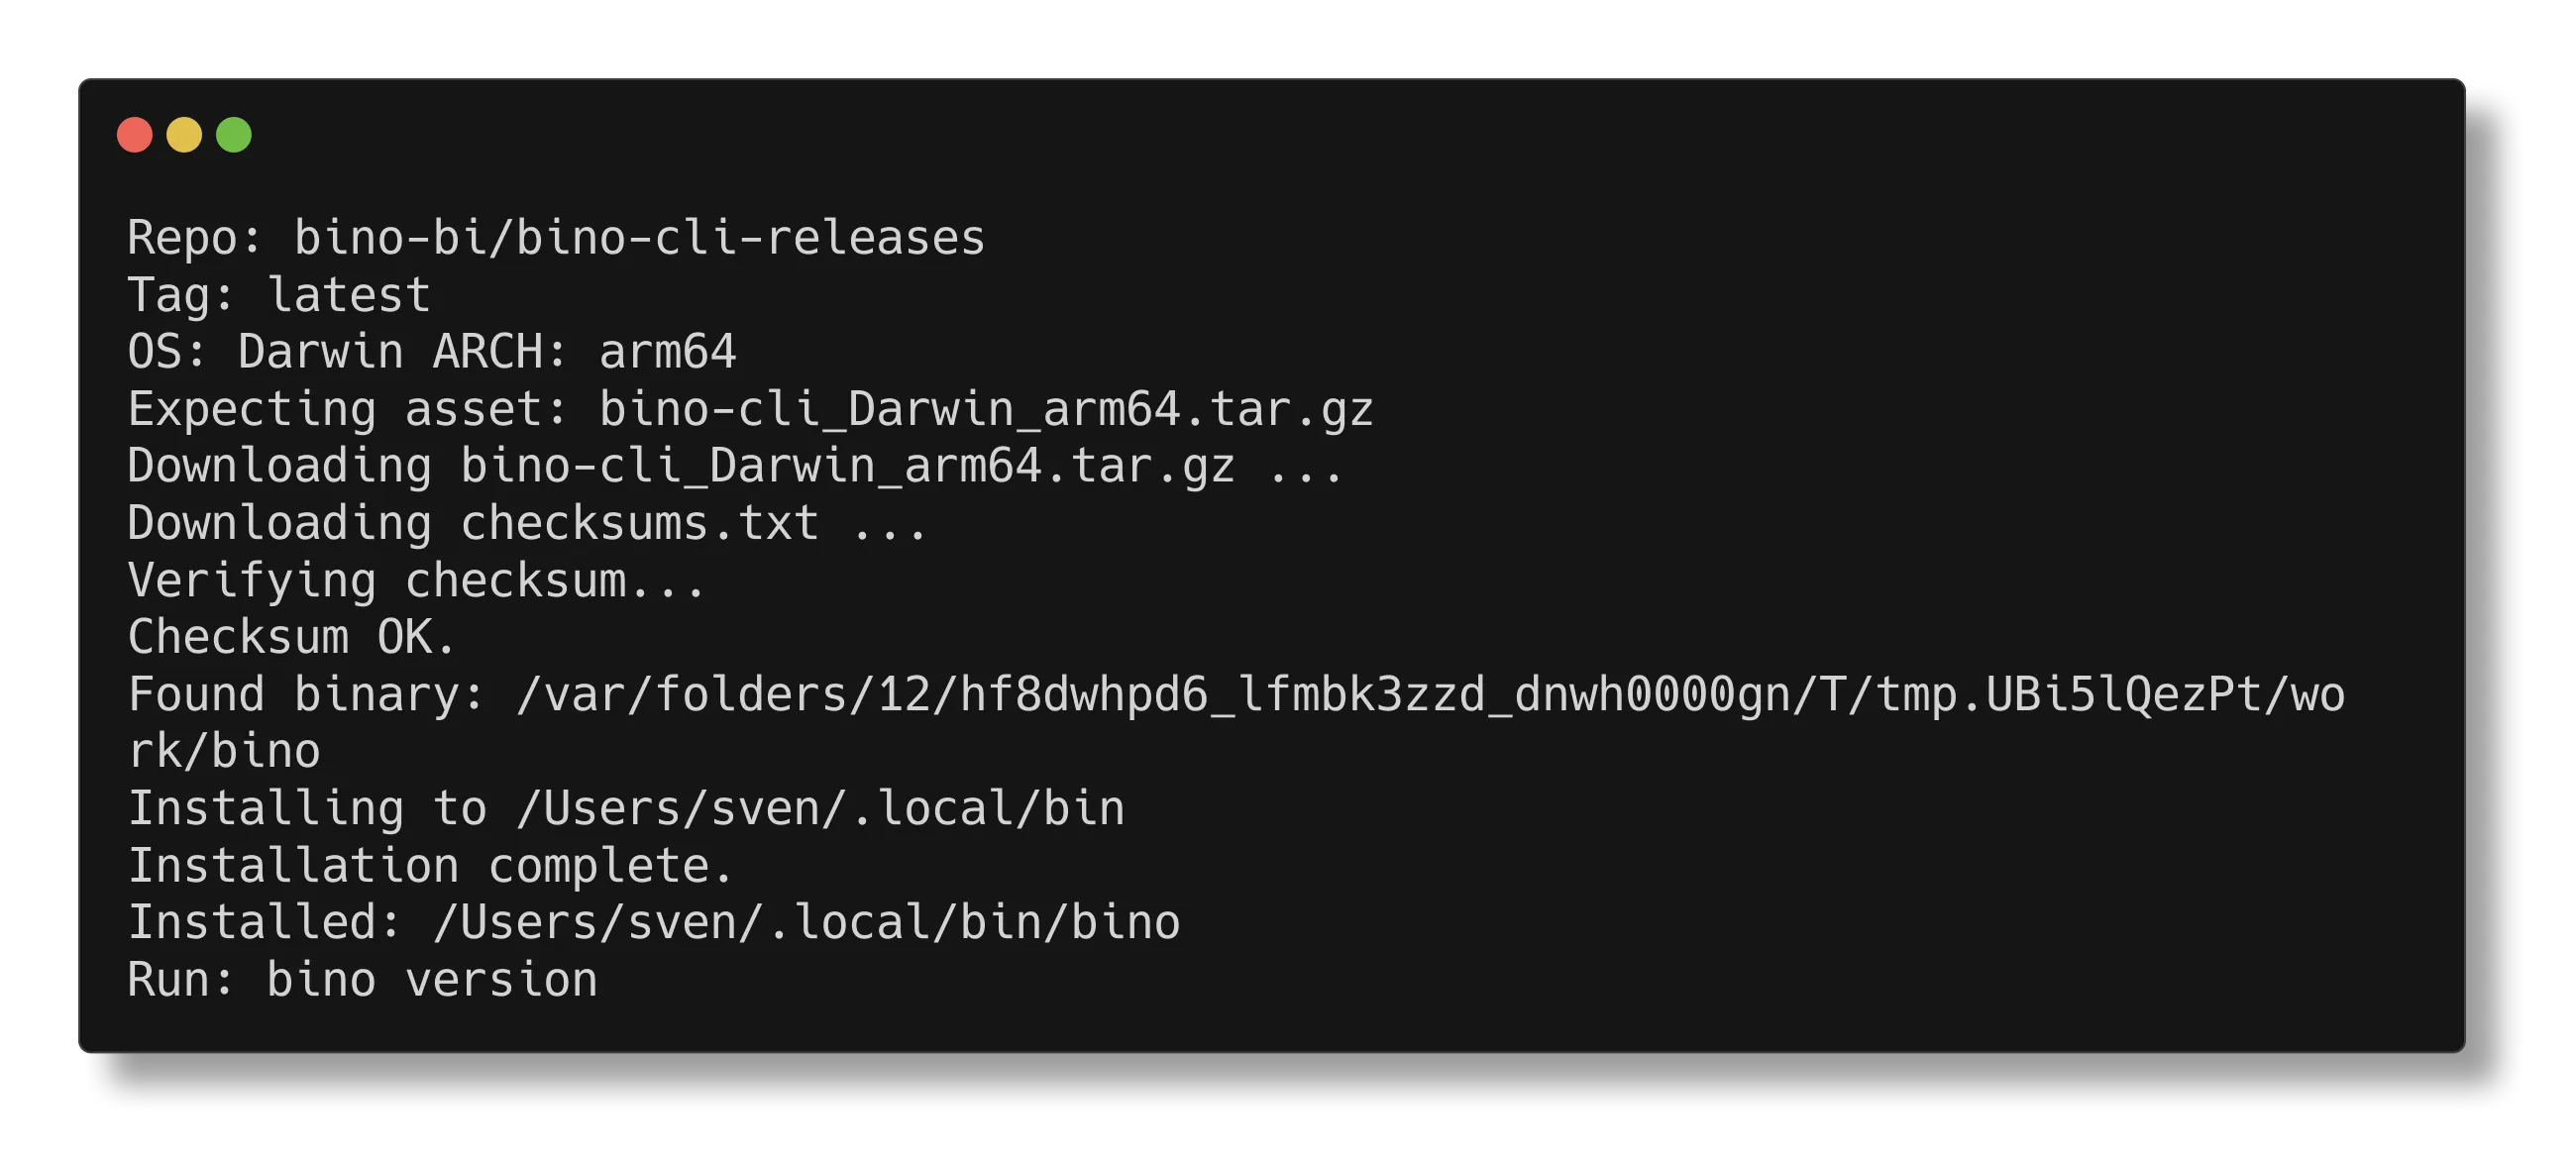
Safer (download then inspect):
curl -sL https://github.com/bino-bi/bino-cli-releases/releases/latest/download/install.sh -o install.sh
less install.sh
sh install.sh
Installer flags: --repo, --tag, --install-dir, --dry-run, --yes.
Prefer the two-step flow if you want to review the script before execution.
Windows (PowerShell)
Section titled “Windows (PowerShell)”Run directly in PowerShell (one-liner):
irm https://github.com/bino-bi/bino-cli-releases/releases/latest/download/install.ps1 | iexSafer (download then inspect):
Invoke-WebRequest -Uri https://github.com/bino-bi/bino-cli-releases/releases/latest/download/install.ps1 -OutFile install.ps1
Get-Content install.ps1 | Out-Host -Paging
.\install.ps1
Installer parameters: -Repo, -Tag, -InstallDir, -DryRun, -Yes.
The installer places bino.exe in %LOCALAPPDATA%\bino and adds it to your user PATH. You may need to restart your terminal for PATH changes to take effect.
Windows (Installer)
Section titled “Windows (Installer)”For a graphical installation experience, download the setup wizard:
bino-cli_Windows_x86_64_setup.exe
The installer will:
- Show the license agreement
- Let you choose the install directory (default:
%LOCALAPPDATA%\bino) - Install
bino.exeandduckdb.dll - Add the install directory to your user PATH
- Run
bino setupto download the browser runtime
To uninstall, use Add or Remove Programs in Windows Settings.
Install via Homebrew (macOS and Linux)
Section titled “Install via Homebrew (macOS and Linux)”If you use Homebrew, you can install bino from our tap:
brew install bino-bi/tap/bino-cliOr add the tap first, then install:
brew tap bino-bi/tap
brew install bino-cli
After installation, run the setup command to download the browser runtime required for PDF rendering:
bino setupTo update bino via Homebrew:
brew upgrade bino-cliInstall from GitHub Releases
Section titled “Install from GitHub Releases”-
Open the bino-cli GitHub repository in your browser and go to the Releases page.
-
Download the archive that matches your platform, for example:
-
Unpack the archive:
# macOS / Linux
tar -xzvf bino-cli_Darwin_x86_64.tar.gz
# or
tar -xzvf bino-cli_Linux_x86_64.tar.gz
On Windows, extract the
.zipusing File Explorer or a tool like 7-Zip. -
Move the
bino(orbino.exe) binary onto yourPATH:# macOS / Linux (example) mv bino /usr/local/bin/On Windows, either place
bino.exein a folder that is already on%PATH%or add its folder to the system/userPATH. -
Verify the installation:
bino versionThis should print the installed version and exit with status code 0.
Updating bino
Section titled “Updating bino”To update bino to the latest version, run:
bino updateThis command checks for the latest release on GitHub and performs an in-place update if a newer version is available. It works on all platforms (macOS, Linux, and Windows).
bino also performs a background check for updates once every 24 hours and will notify you if a new version is available.
Next steps
Section titled “Next steps”- Continue with Your first report to scaffold and build a sample report.
- See the CLI overview for a quick tour of available commands.